Installing FX-3000-C controller#
What do you need?#
FX-3000-C or FX-3000-X controller
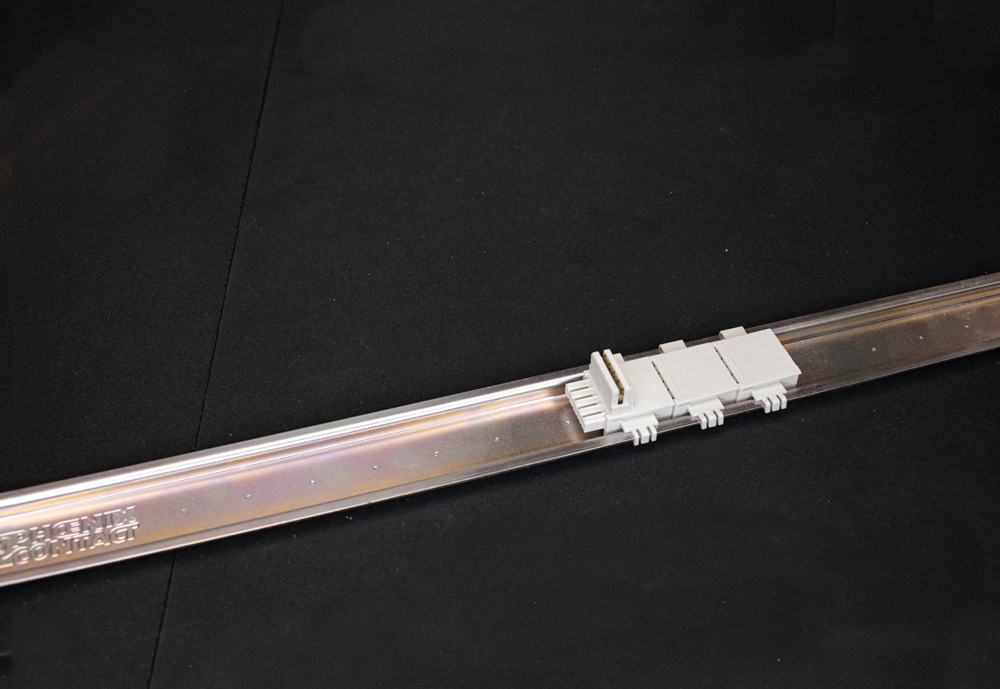
T-BUS CONNECTOR(S)#
At least one 5-wire connector with male pins sticking out between the ledges of the DIN-rail
To extend the bus at the back of the controller, two connectors without upward pins
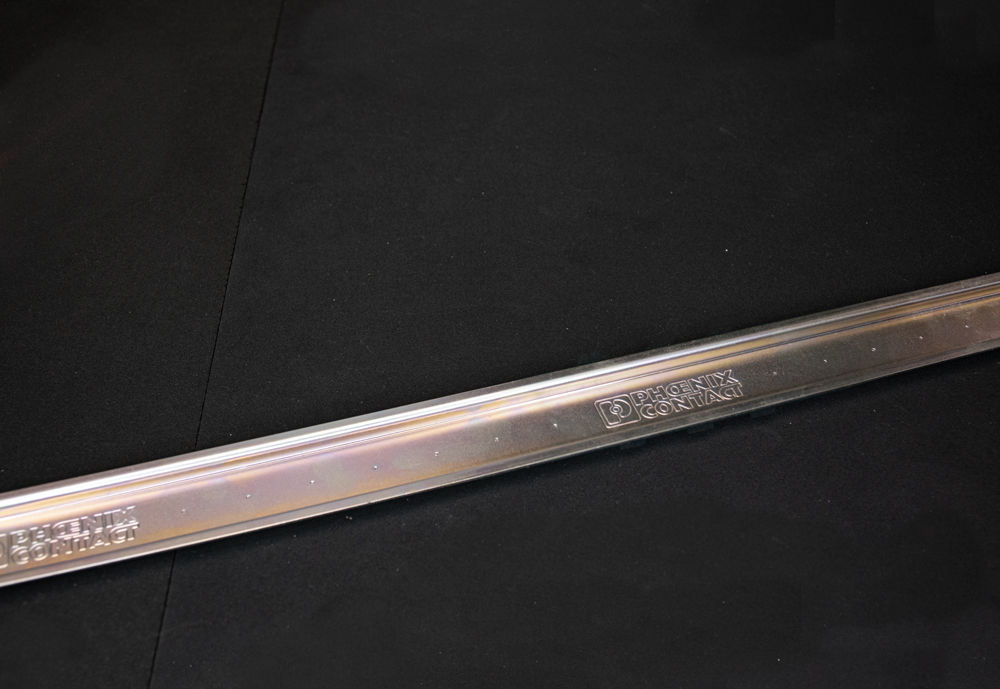
DIN-RAIL#
Step 1/10#
- Make sure to have enough space on your DIN-rail
Step 2/10#
- Attach the T-Bus connectors to your DIN-rail
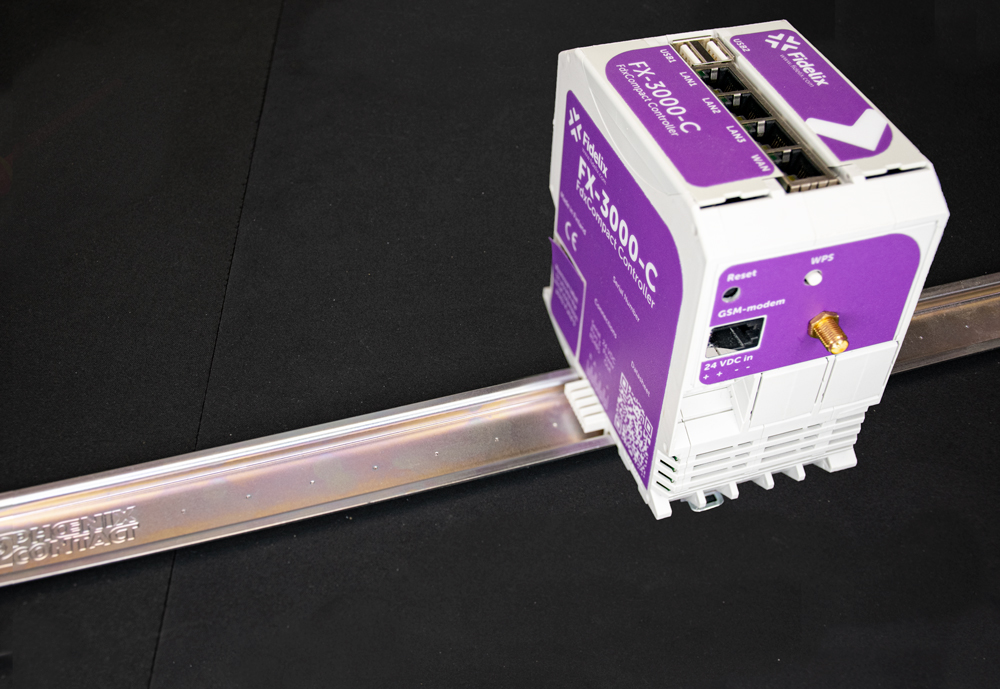
Step 3/10#
- Click the controller onto the T-Bus connectors and onto the DIN-rail
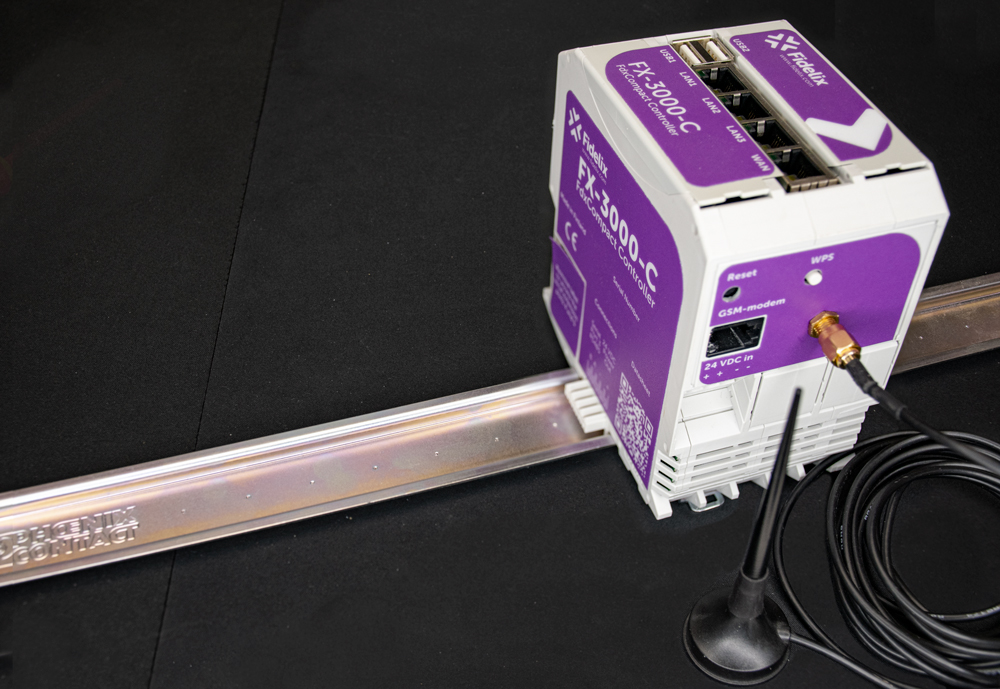
Step 4/10#
- Attach the wi-fi antenna
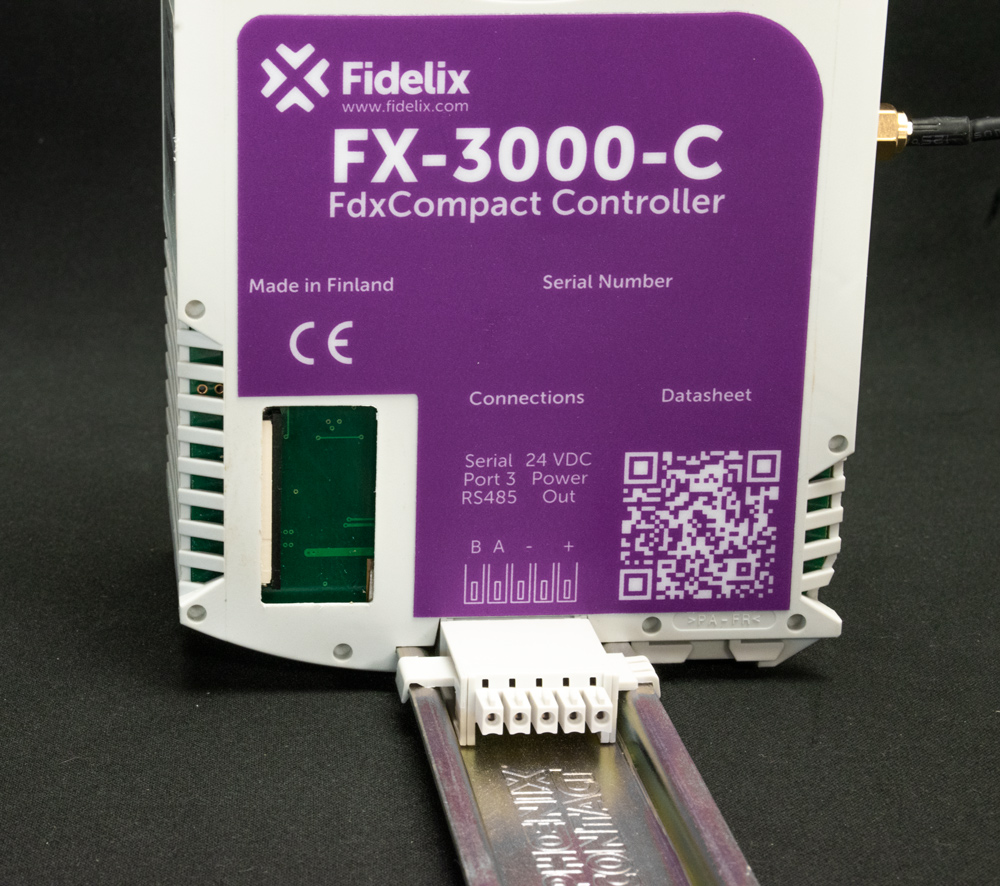
Step 5/10#
- Remove the sticker to access the COM-ports 4 & 5 strip connector
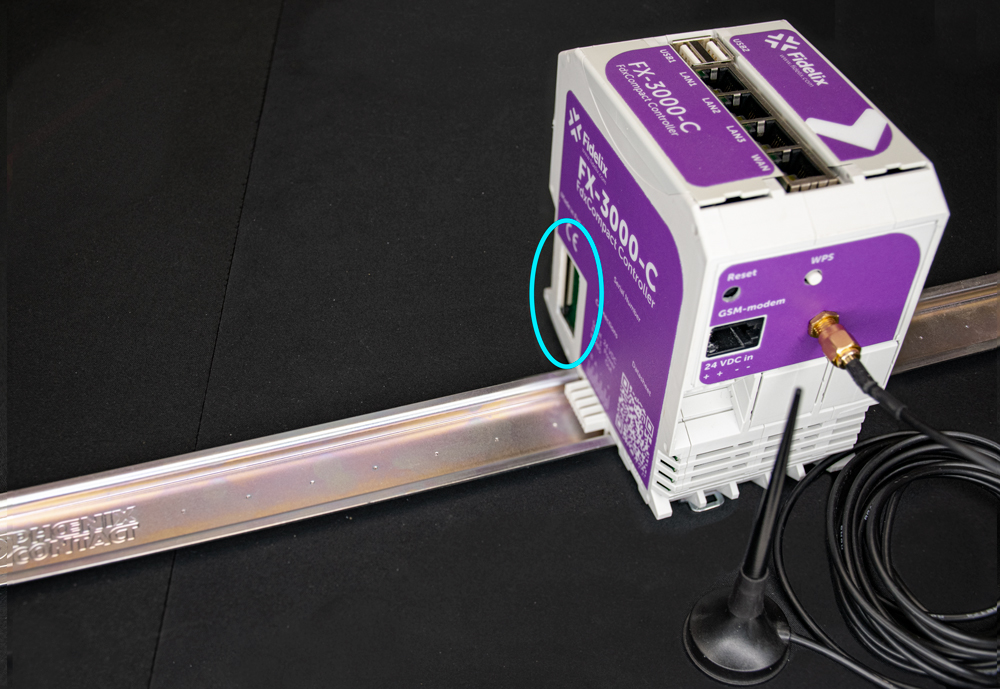
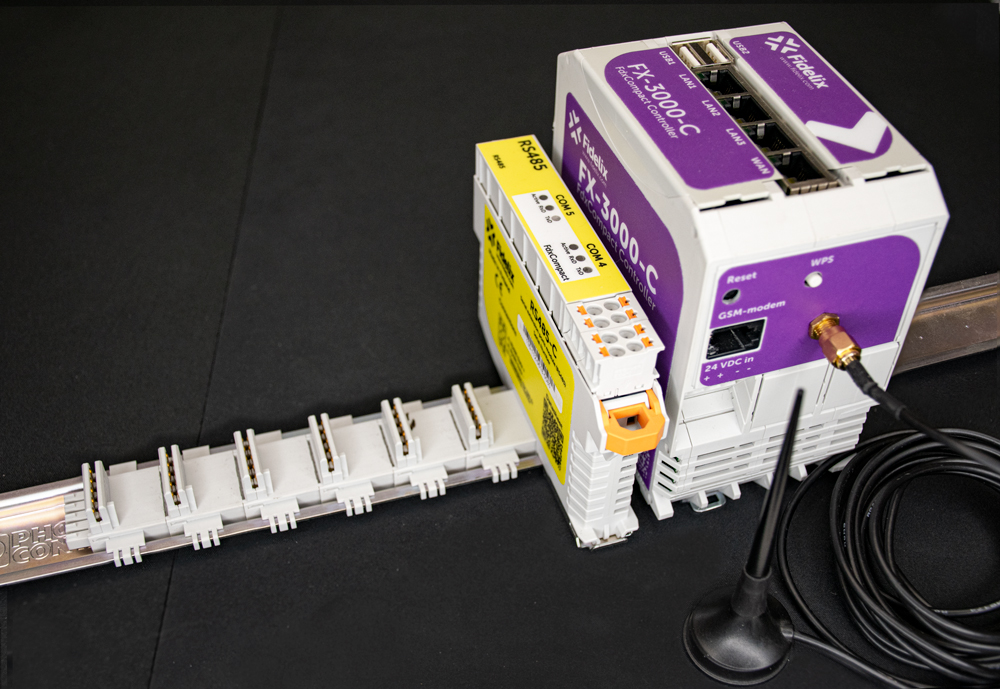
Step 6/10#
Attach the FX-RS485-C module and place the pass-thorugh T-Bus connector on the DIN-rail in front of the controller
- Once done, your setup should look like this:
Step 7/10#
- Click the FX-RS485-C module onto the DIN-rail on top of the connector

Step 8/10#
- Add T-Bus connectors for more I/O-modules
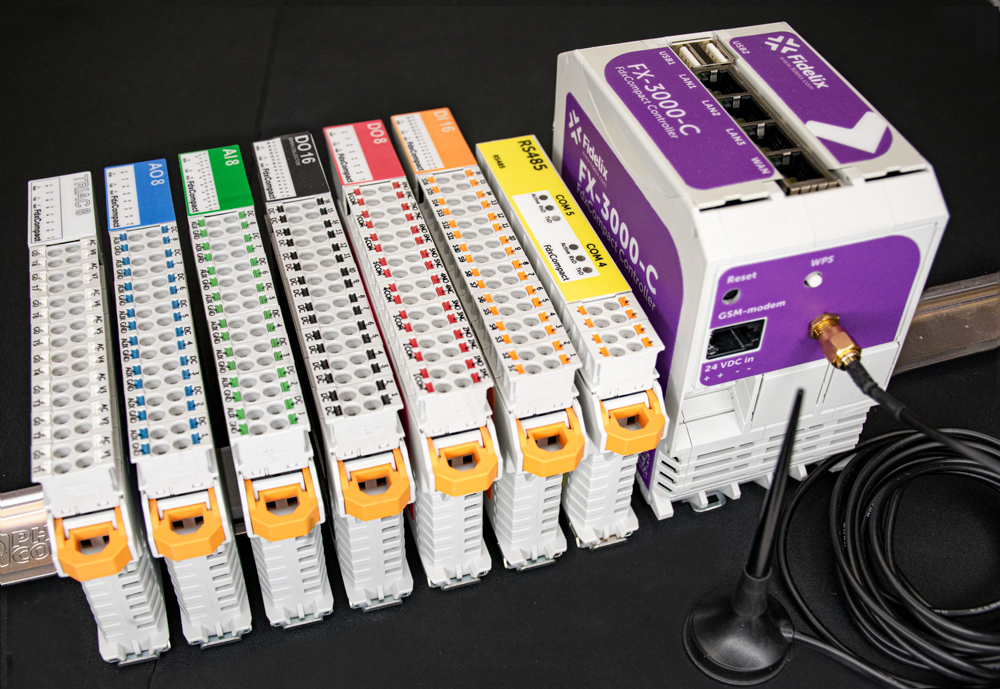
Step 9/10#
- Click the I/O-modules onto the T-Bus connectors and onto the DIN-rail

Step 10/10#
- Click the I/O-modules onto the T-Bus connectors and onto the DIN-rail
Installation video (subtitles available)#
Verify your skills:#
---
primary_color: orange
secondary_color: lightgray
text_color: black
shuffle_questions: false
---
## Which one is the essential component to make your FX-controller communicate with I/O-modules ?
> Bus is everything in data communication!
- [x] T-Bus
- [ ] DIN-rail
- [ ] FX-RS485-C
Recap:#
Check the datasheet to recap the major features: Datasheet